OneClick.ai’s deep learning vision is a new service that aims to make state of the art deep learning computer vision techniques accessible to non-technical users. In this post, I will show you how to build a custom image classifier in 30mins that is able to detect the symptom of diabetic retinopathy, an eye disease associated with long-standing diabetes, by processing photographs of the retina. You do not necessarily need to provide a lot of images like you would with ImageNet; instead, start with a handful of images and see how it works. What is amazing about this service is our AI engine will construct the neural network architecture tailored to the provided dataset and the selected task.
Anyone can use this service on various applications like recognizing brand, product, landscape, food, plant, and detecting scenes of water leakage, fire, NSFW, surveillance etc.

Prepare Input Data
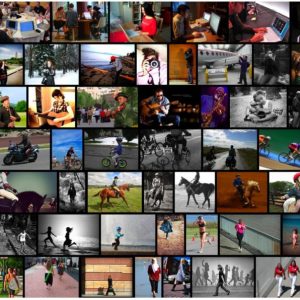
You can’t teach AI to learn anything unless you feed data into it. The data required needs to include human labels too. There are different ways you can acquire data with labels. It is possible to crawl Google and Bing’s image search engine, or you can find open source datasets online, most of which are for research purposes. If you have a lot of unlabelled images, you can use third-party tools like Amazon mechanical turk or Crowdflower to request the users on those platforms to label them for you. You simply need to define the labels with a good description before they can begin the work.
Once the images and label are ready, we need to organize the folder structure in the way that platform accepts.
Two folder structures are currently supported:
(1) For each class, you wish to predict, create a folder and put all images belonging to that class into the same folder. For example, you may want to classify images into two classes: symptom and nosymptom. Create two folders: symptom and nosymptom and move all the respective images into the folder that they belong to. The resulting folder should look like:
    /symptom
     image_1.jpg
     image_2.jpg
    …
    /nosymptom
     image_3.jpg
     image_4.jpg
    …
(2) Provide a CSV file which has a header and one column for each label. In this case, we have two columns — one for the relative path of the images and the other for the corresponding image label. Note: avoid space within label if this is not multi-label classification.
images,label
img/image_1.jpg,nosymptom
img/image_2.jpg,symptom
img/image_3.jpg,symptom
img/image_4.jpg,nosymptom
img/image_5.jpg,nosymptom
...
Furthermore, you can have numerical and text features along with images. Please use only CSV format in this case.
images,age,diet,label
img/image_1.jpg,50,vegetarian,nosymptom
img/image_2.jpg,45,meat-eater,symptom
img/image_3.jpg,55,meat-eater,symptom
img/image_4.jpg,52,vegan,nosymptom
img/image_5.jpg,46,meat-eater,nosymptom
...
If this is a multi-label classification, separate different labels with space. For example, the image_1.jpg contains two objects: toy and soccer.
images,label
img/image_1.jpg,toy soccer
img/image_2.jpg,45,bike toy
img/image_3.jpg,55,scocer basketball
img/image_4.jpg,52,toy basketball
img/image_5.jpg,46,pen toy
...
Train Machine Learning Model
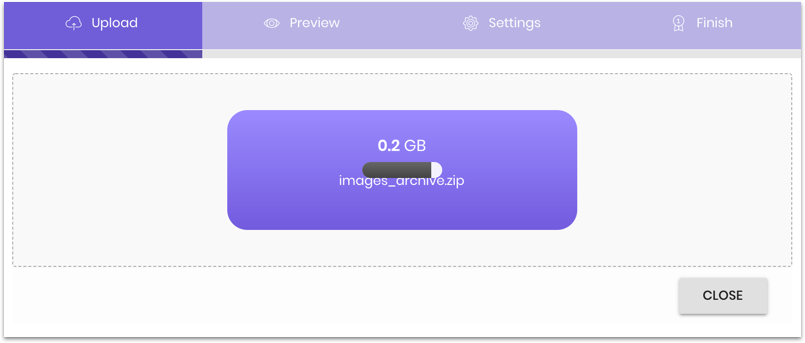
Click ‘Upload Data’ button

Upload Data
Once you have uploaded the data, it is time to tell the system the prediction target, which in this case is the ‘category’ of the image.
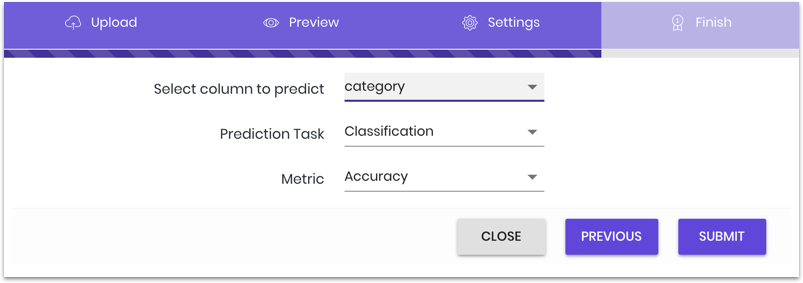
We support three prediction tasks: classification, regression, and forecasting. Since we are building an image classifier, it is straightforward to choose ‘classification’. Obviously, you can select regression too, e.g. using the images of an outdoor scene to predict the ground surface temperature.
Once you click ‘modeling’, the OneClick.ai AI engine will analyze the data, its characteristics and the nature of the task in order to decide different ways to construct neural network architecture. It ranks them and selects the top ones to be trained.

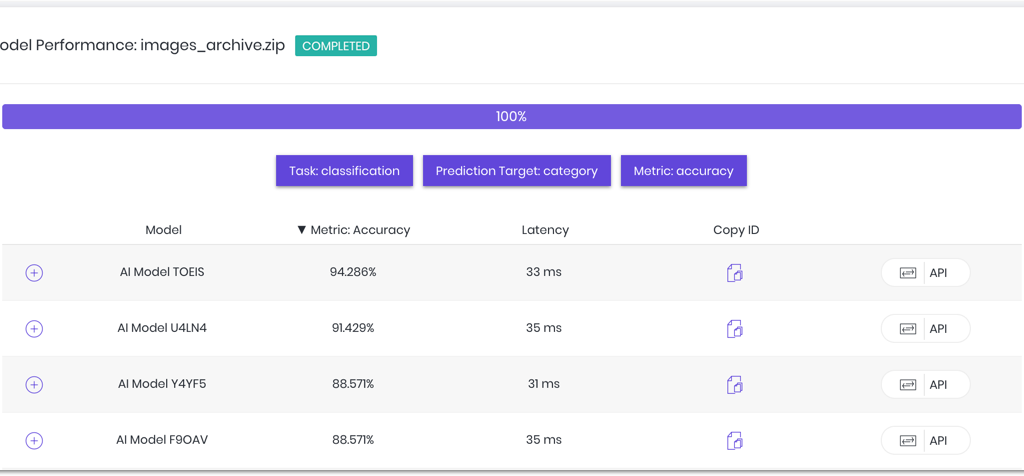
When selecting a completed model to deploy as an API, you need to consider two factors: model accuracy and its latency. Most of the time, if the model complexity goes up, it generates a better result but the request latency goes up too. Depending on the requirements of your application, you need to weigh these factors.
Here we pick the model with the highest accuracy score

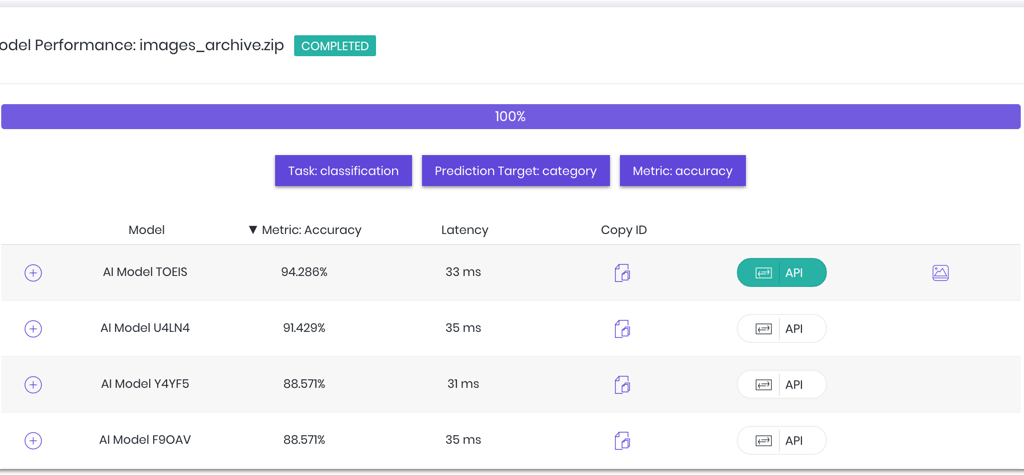
Click the image icon to go to the test page, where you can upload new images to test the performance. Note: this test page is only available when data contains two columns: image and label.

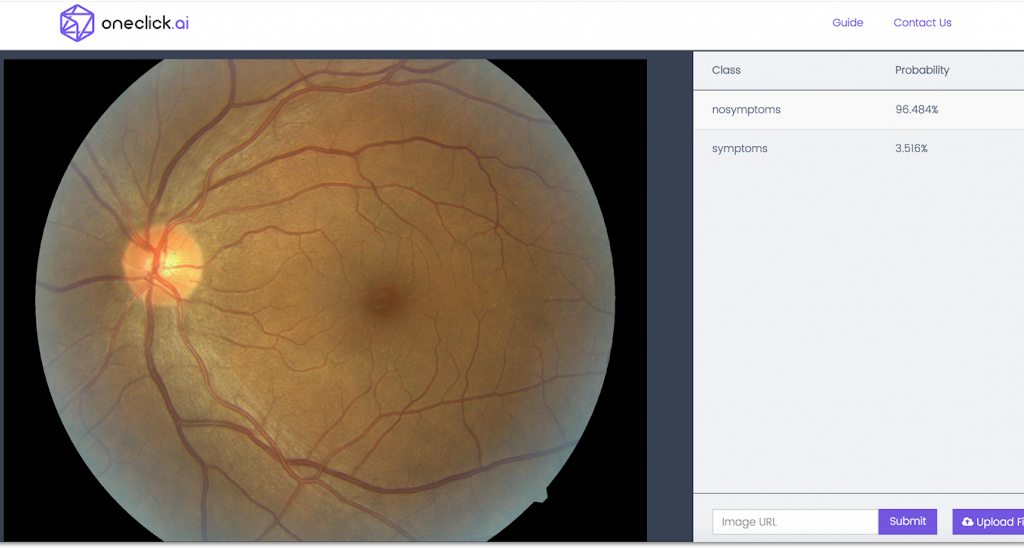
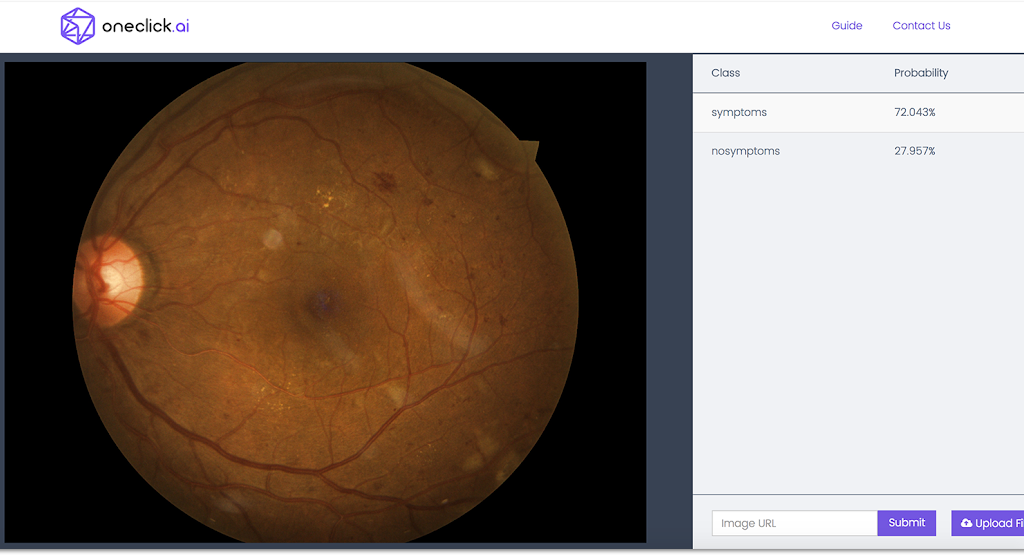
Test another image
Conclusion
Using OneClick.ai, any user should be able to build a custom vision model and get it deployed into production in as quickly as 30mins. Credit: 150 images used in this tutorial are borrowed from the Kaggle diabetic retinopathy detection competition.
Give it a try!